Canvas Modules: What are they and how do I use them?
Musings of a learning designer on the importance of organising your subject well for your students.

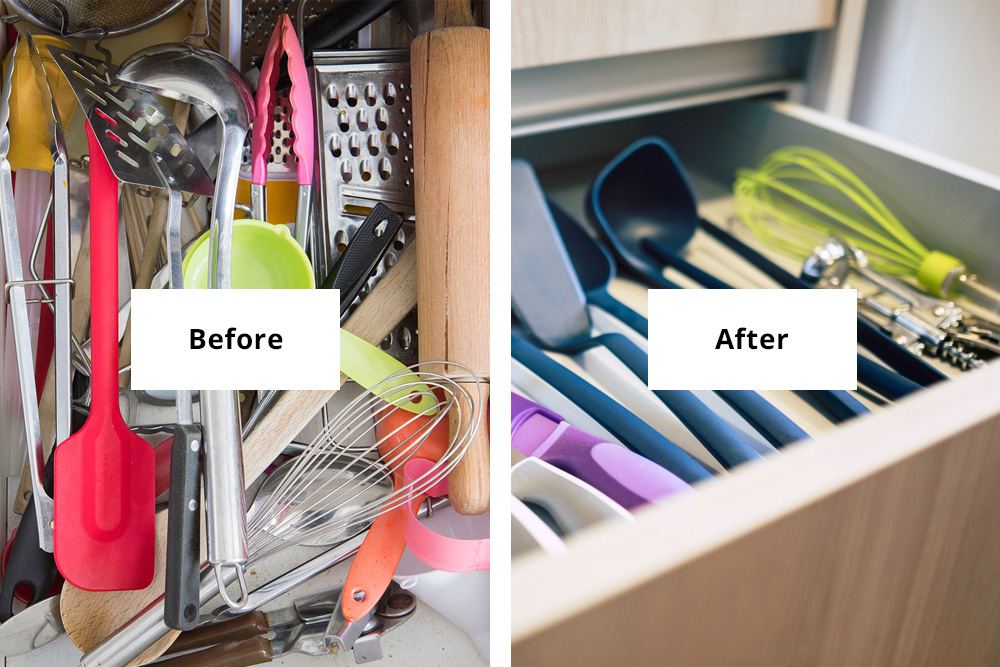
I have a utensil draw in my kitchen at home, where every tool is just thrown in. It’s chaotic. Marie Kondo, the Japanese decluttering expert, would shudder. There is a garlic press next to a knife sharpener, with a scattering of ‘one day I’ll use these’ kebab sticks. Finding the watermelon baller (yes, I have one) is a matter of scrambling through miscellaneous tools and trying to avoid being pierced by the kebab sticks. It’s not a fun time.

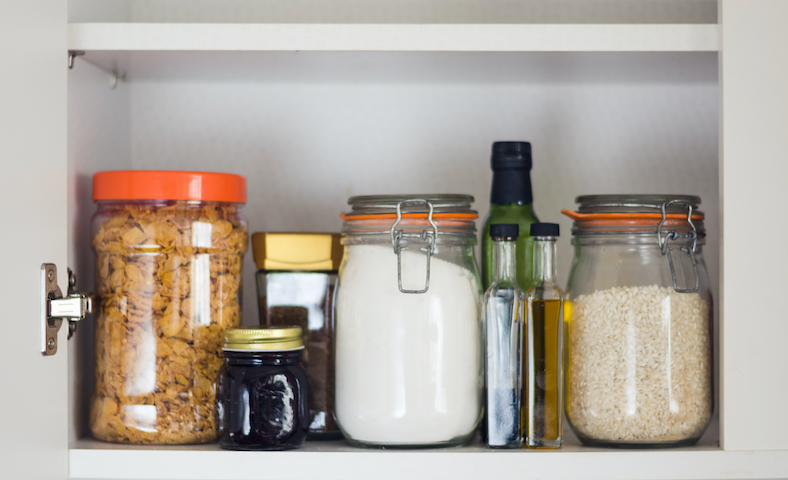
This contrasts with my ‘dry ingredients’ draw, where everything is in jars and labelled on the lid. It looks like an IKEA demonstration draw. It is very easy to find everything.
Your Canvas subject has the potential to be like my chaotic utensil drawer, or like my organised dry ingredients drawer. And Canvas Modules and other elements can help you tame the potential chaos.
What are Modules?
Canvas doesn’t have folders as you may have used in the past - instead it has Modules. You can think of Modules a little like a drawer, or a container where you can group content together. Modules can have multiple elements such as assignments, quizzes, pages with written content, images, videos (and more), and these elements are linked like the pages of a book with 'next' and 'previous' buttons. This means that your Module is not only easy to navigate, but it also presents a suggested learning pathway for students.
You'll see the Modules item in your subject menu. Click on the item and you can begin creating and designing subject content for your students. But before you get started, we've got five helpful hints!
Five tips for using Modules well
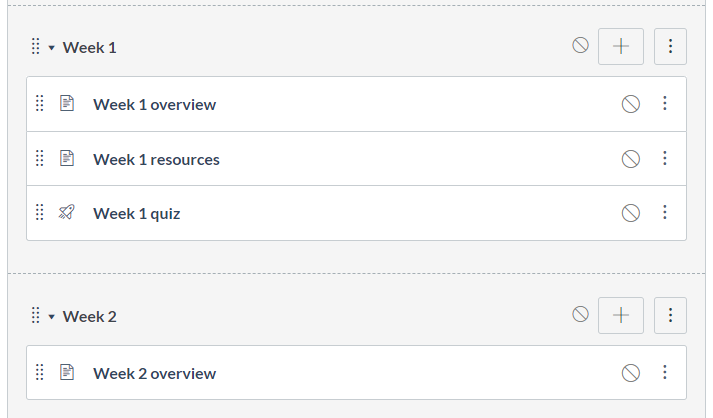
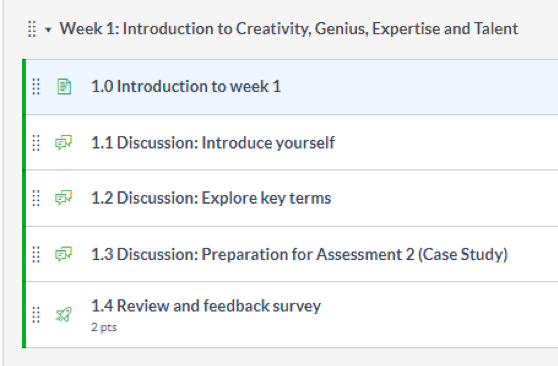
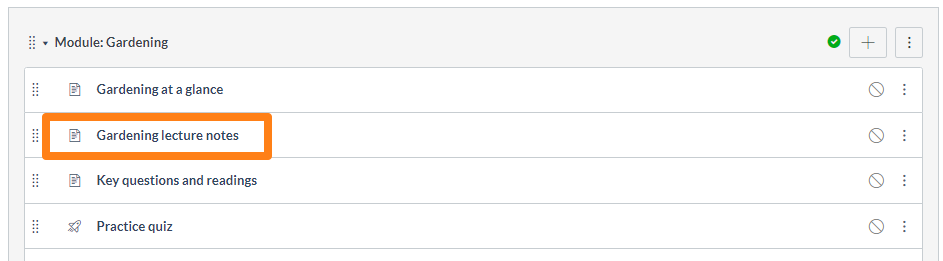
Tip 1: Label and organise modules by week or topic
Weeks
For most of your subjects, labelling your modules by week will help students know what they should be doing and how they are progressing in your subject:
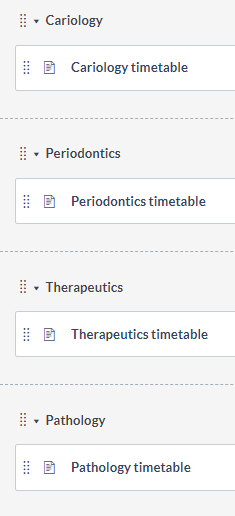
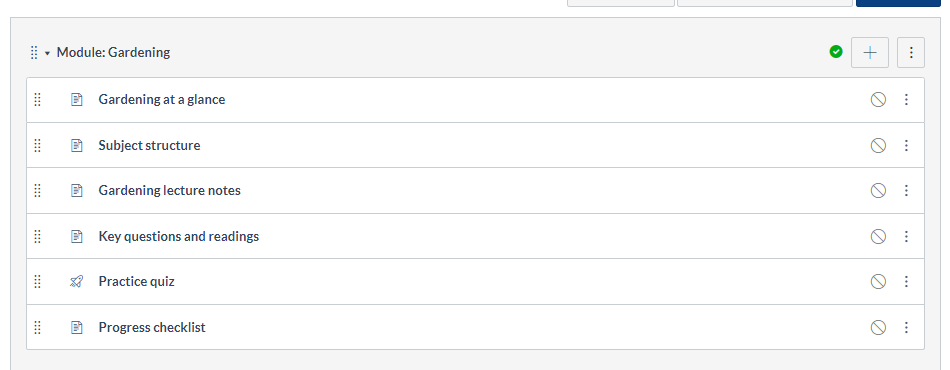
Topic
Depending on your subject’s design, you may alternately prefer to label your modules by themes/topics:
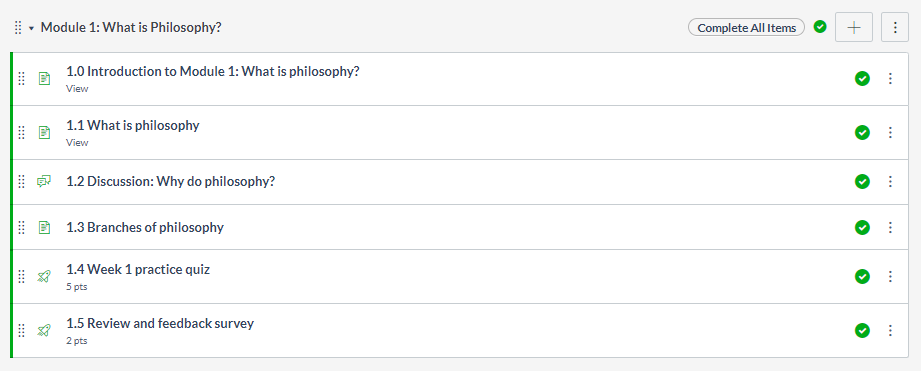
Numbering
If you have many items in your modules (such as in the case of an online subject) you may also like to number each component, e.g. 1.1, 1.2, 1.3 etc.
Tip 2: Provide a pathway, not a resource bank
You may have heard of the term ‘Death by Powerpoint’, referring to long slide presentations? Well, its cousin is to be just as feared; ‘Death by PDF’.
The automatic migration tool was fantastic in bringing your files across from Blackboard, but if you don’t organise these files, you’ll be left with subject that looks like an appendix:
I’m sure you would want your students to think of your subject as something much more than just an appendix. Subjects that offer students a rewarding learning experience build a pathway – so students can easily progress, knowing where they’ve started, where they are going, and what they’ll achieve at the end of it all. The way you set up your subject in Canvas plays a significant part in shaping a student's learning experience.
Some examples of learning pathways that are conducive to a positive student experience:
Or:
Tip 3: Using Pages to ‘declutter’ your modules
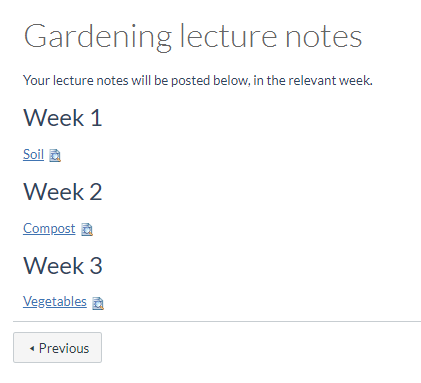
Where to put handouts, such as lecture notes, if not in the module? The answer is to use 'Page/s', within a Module.
Here is a link to a Page in a Module:
On that Page, you can link to your lecture notes (or any other relevant documents):
Pages can contain any document types or videos that you want to add, and you can also add images and icons. Using pages can support you in integrating the face-to-face and online aspects of your blended subjects:
Tip 4: Would you rather read a novel or a dictionary? The importance of narrative.
To use an analogy, listing the ingredients of a recipe is helpful, but without the context and instructions, the list doesn’t necessarily end in a good meal. You can enhance your subject by adding context and direction around your activities and resources.
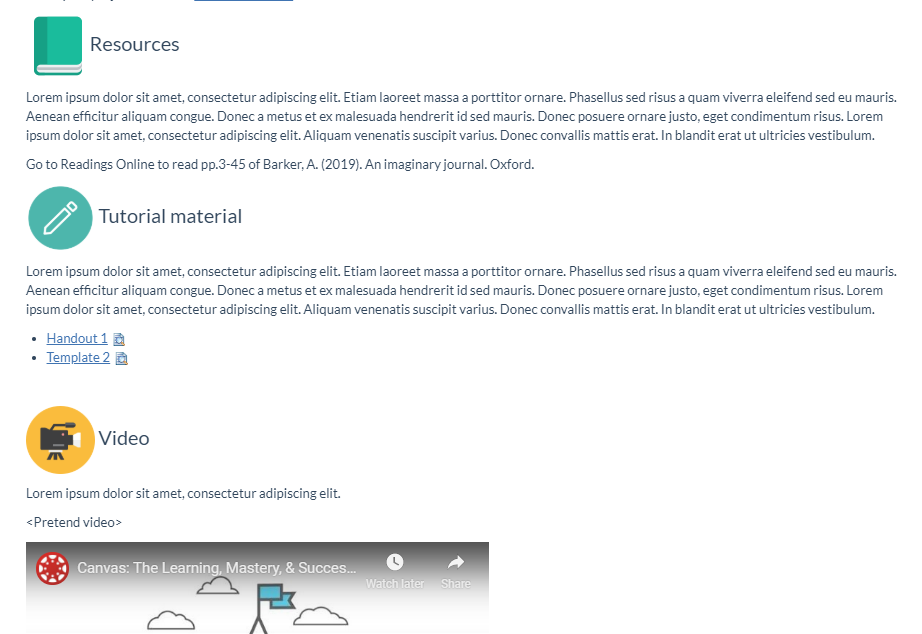
When you put resources on Pages, it is recommended to provide some context about what those resources are for.
Example:
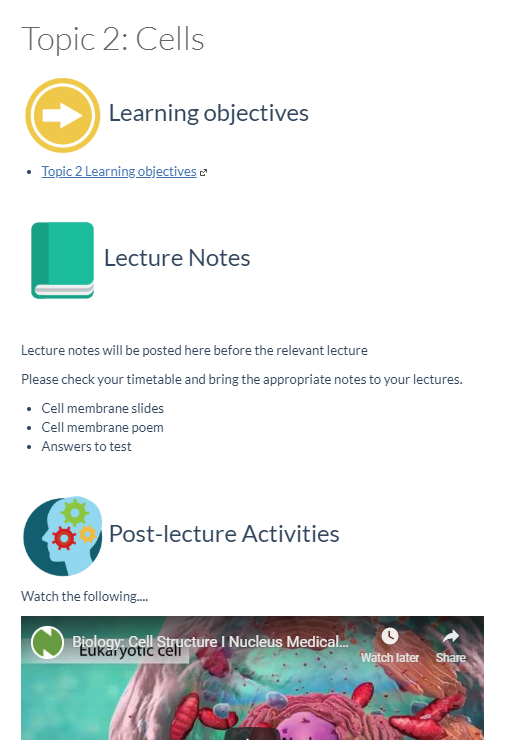
You can also treat your pages as ‘chapters’ in a book. You will notice each Page has ‘Previous’ and ‘Next’ buttons so students can work through activities and resource material page by page.

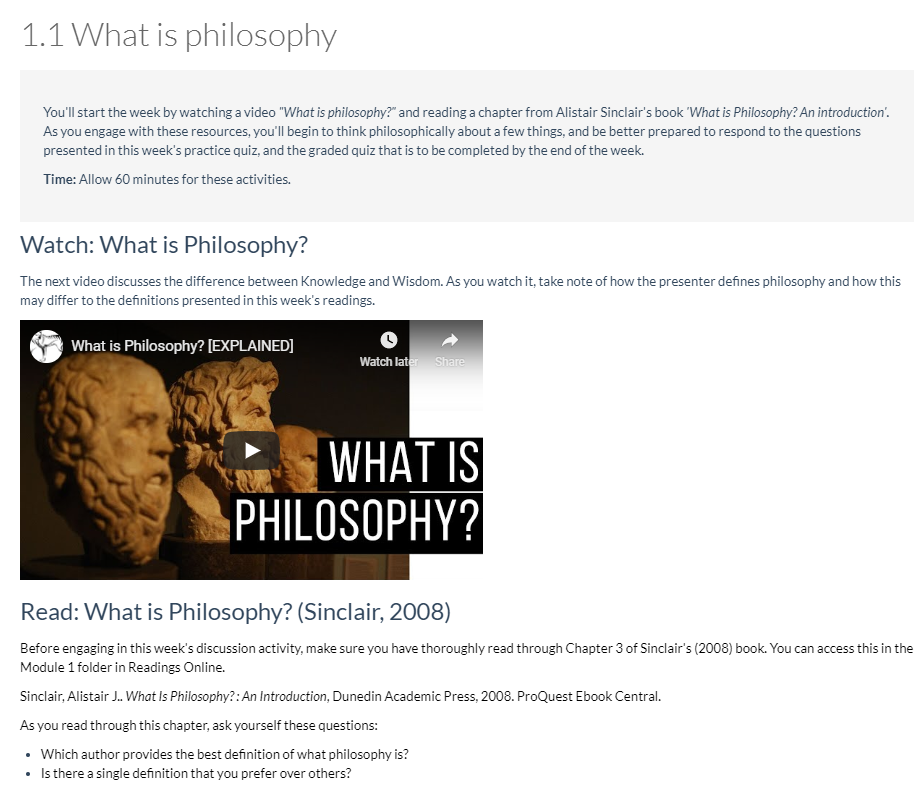
Here is an example of a Page of learning material:
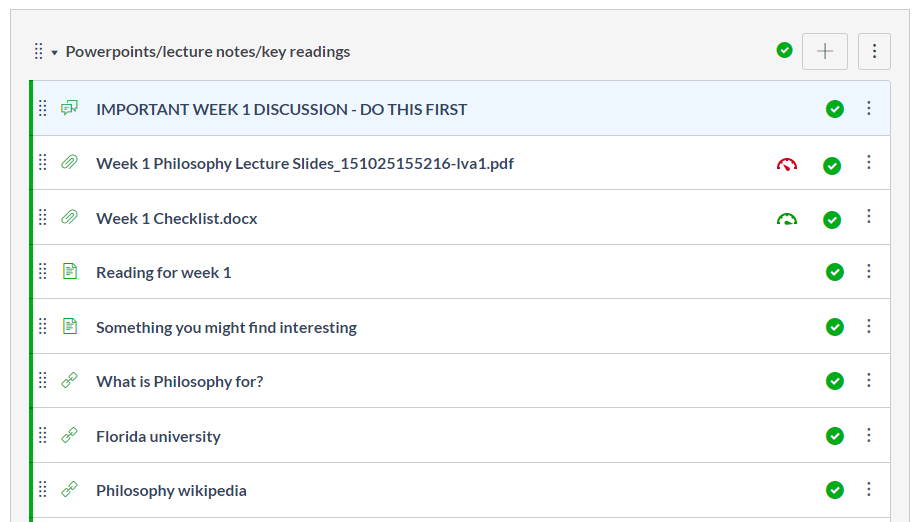
Tip 5: Complex subject? Text headers and 'indentation' are your friend!
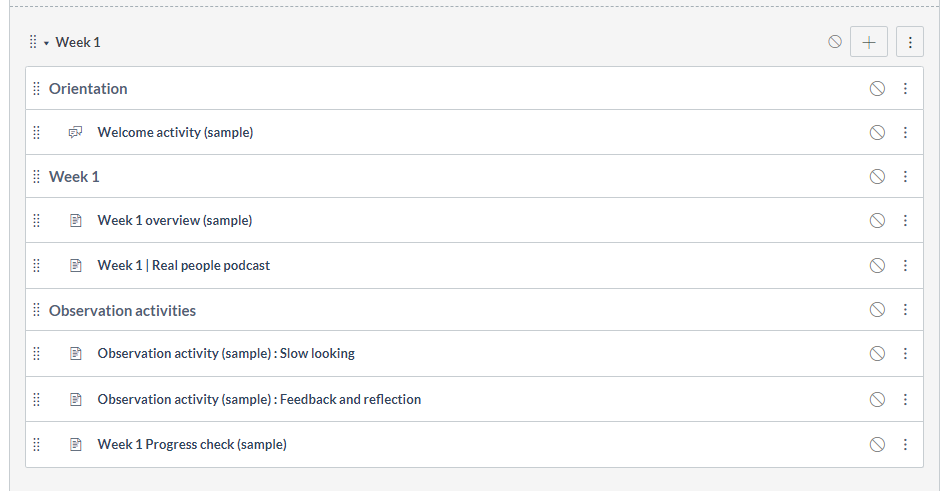
Some subjects are more complex. Perhaps your subject has five different topics in one Canvas site, or is a year-long subject, or has some other complexity. In those cases you may find you have so many different things you want to put into your modules that it can end up as a long list.
Using text headers and indenting content to separate different yet related aspects to help make the content more accessible to students. Students are able to get an ‘at a glance’ overview and make it easier for them to find what they’re looking for.
I’m inspired, how can I do this in my subjects?
To find out how to build modules, pages, text headers and link to documents:
- Enrol in the Canvas: Learning at your own pace course
- Go to the Getting Started module, and
- Work through the “Organising your learning materials and activities” section.
Alternatively, we welcome you to attend a Canvas: Getting Started workshop.
For any other queries or assistance, don't forget the 24/7 Canvas helpline and other support resources available through the LMS homepage.
And remember, if all else fails, what would Marie Kondo do? Do your modules 'spark joy'?