5. Deliver
5.1 Top and tailing
The most basic editing function you’ll want to master is the ‘top and tail’. This is to video what the crop tool is to images. Your video clip will seem more professional if you trim out the setup, pauses or fumbles at the start and the end of the video. A ‘top’ can be a title slide and a ‘tail’, either credits or branding logo. You can read more about how to brand with University content here. This can be achieved with almost any video editing tool, so if you are familiar with a specific software then you can almost certainly use that one.
If you don’t have video editing software installed, the two online video management systems–Echo Lecture Capture and Kaltura My Media–offered by the University, can top and tail a video in your web browser after you have uploaded your clip. You can read more about how to trim a video in Echo and in Kaltura My Media.

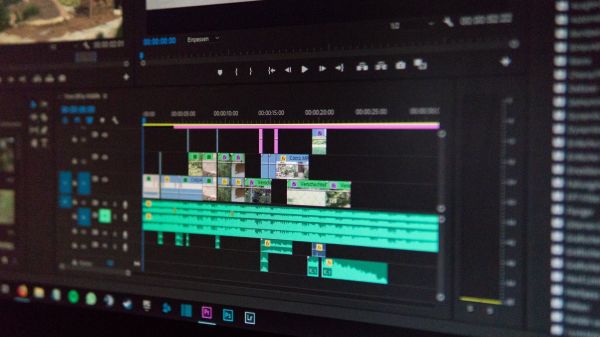
5.2 Levelling up your editing
For your project, you may have needed to take multiple shots (or incorporate images, artwork, diagrams, or music) and assemble them together during the Deliver phase.
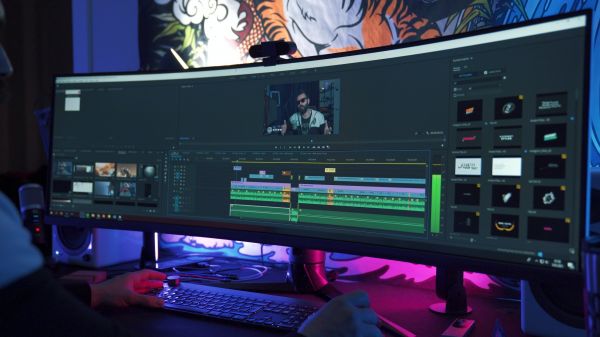
As a University of Melbourne staff member, you can access the Adobe Creative Suite, which includes Adobe Rush. Adobe Rush is an excellent choice for assembling your video if you want to take your edits to the next level. You can find out how to install Adobe rush here.
Adobe has an excellent range of online how-to guides and resources. First-time users might want to start with ‘Getting to know Adobe Rush’, accessible here.
5.3 University branding and title cards
Another resource available to University of Melbourne staff are branded templates, titles, and logos for video content. To use these, export your slides as JPEGs or PNGs then add them to your Adobe Rush timeline. You can find slide templates and an animated UoM logo to put at the end of your video in the Brand Hub.

5.4 Audio editing
A final, and often overlooked step, is audio balancing and cleanup. If you’ve followed our advice on capturing great sound, you should already have a high-quality recording! However, if there’s some background noise or you need to match volume between different takes, check out the audio tab in Adobe Audition for some simple, one-click audio fix-up tools. These features are explained in more detail under, ‘Refine audio clips’ found here.
5.6 Hosting and distributing
Now your video has been edited and exported, it’s time to choose a video hosting platform. In some cases, this may already be decided, based on the purpose of your video. If not, there are a variety of options available, so it’s important to think about your intended audience and choose the platform that best suits their needs.
5.6.1 Direct Download
The simplest way to distribute a video might be to send it as a file for direct download. This would be appropriate when someone else (a web manager, social media manager, or teaching assistant) is helping you distribute the content. The quickest free solution is to send the file using Cloudstor, which is fast and free nationally for all University staff. There is a guide from the IT support services on how to use Cloudstor available here.

5.6.2 Learning management system
Alternatively, the Learning Management System (LMS) is generally the most effective way to distribute videos to a student audience. There are two supported options for video hosting in the LMS, so let’s look at both of them in a bit more detail.
The first option is Echo360, also known as ‘Lecture Capture’. As well as automatically uploading lecture recordings, Echo can be used to record, upload, embed, trim and subtitle your own previously-recorded videos. The major advantage of this platform is that it is a familiar platform for many staff and students. Further, using Echo360 to host your self-recorded videos allows students to download your videos for viewing offline via the Echo360 student app. Check out this guide on how to manage your own video recordings in Echo Lecture Capture.
The second option is Kaltura My Media, also known as ‘MediaSpace’. Kaltura can be used to record, upload, embed, trim, chapter and subtitle your videos. This platform offers some additional features to Echo360, including the ability to add chapter markers, popup slides, hyperlinks, and even basic quizzes to your videos. The main advantage of Kaltura is its advanced sharing and collaboration tools. You can add any University staff member as a collaborator, and share ownership of the video amongst a group of teachers, should a video be utilised across multiple subjects. Check out these guides on how to manage your own video recordings in Kaltura My Media.
5.6.3 Share by link
If you want to distribute your video to the wider community, you might be planning to embed the video into a webpage, or send someone a direct link. For these purposes, the University of Melbourne also offers a public-facing portal to the Kaltura hosting platform called ‘MediaSpace’. All the videos you upload to ‘Kaltura My Media’ via the LMS are also available through the mediaspace.unimelb.edu URL, although they will be private by default. To publish the video to a non-student audience, you’ll need to either copy the embed code and add it to a public website, or complete the copyright declaration and publish it to a public channel, which you can then generate a link to. Check out these guides on how to manage your own video recordings in Kaltura MediaSpace.
While MediaSpace is a great ‘one-stop-shop’ for student and university video hosting, sometimes you might want to use an external host. Some faculties maintain a paid subscription to Vimeo.com. Vimeo is great for customisable website embeds, also offering private, unlisted, and password-protected video pages. Their built-in review feature helps you to get feedback on your video directly. The disadvantage of Vimeo is that few people will discover your video organically as they’ll still need to be sent a link or visit your webpage.
If you want to send a link to a group of University of Melbourne staff, or you are embedding your video into an internal site, email, or presentation, you might host the video on Microsoft Stream. Microsoft Stream integrates with other Office 365 applications like Teams, Sharepoint, Office, Outlook and Yammer. One advantage of Microsoft Stream is that you can limit your audience to groups of staff, who must be logged in to view. For example, you could email a video link to your team, but still prevent a wider audience accessing the content. You can find more information about Microsoft Stream in this knowledge base article.

5.6.4 Find in web search
If you want people to be able to find your content through a Google search, then YouTube may well be the best solution. This platform is still the number one destination for discovering and sharing public videos, as it leverages Google’s vast network to drive traffic to the most relevant, most shared content. You can open a YouTube account and publish your video for free, but be aware that stricter copyright rules will apply to videos viewable outside the LMS. Further, Google may run ads during your video, change their terms of service at any time, and block or remove content with no warning. For all student-facing videos, Echo or Kaltura are definitely the preferred options.
5.7 Checking accessibility
Perhaps the most important part of sharing your video is making sure it is accessible to all members of your target audience – especially when it forms a part of course content. Echo, Kaltura and YouTube will all generate automatic closed captions (onscreen subtitles that can be switched on or off by the viewer) but they will not be published automatically - they should always be proofread then enabled manually to ensure accuracy. Check out the following guides on how to proof and publish closed captions using Echo and Kaltura.
You can also enhance the accessibility of your content by generating and providing a written transcript. We frequently use Trint.com for this service, but if you have already proof-read your captions, you can also convert the caption file to a plain-text document using an online converter like this one.

5.8 Reflecting on your goals and learnings
Before officially wrapping up your project, take some time to think about how your video sits within your broader objectives. For teaching videos, there are many tools available to augment your teaching strategy. For example, you can add quizzes, hotspots or chapter markers with Kaltura, branching and interactivity with H5P, or collaborative comments with Feedback Fruits. For more information on creating interactive videos, you can see the information provided by Feedback Fruits and H5P. For videos with a communications or promotional objective, YouTube and Vimeo allow you to add a clickable ‘call to action’.
Regardless of your objectives, it's important to also check out the analytics, viewing statistics or playback information in your video’s host. This information will help you to see if your video successfully found its audience, and whether audiences watched through to the end. You can use this information to fine-tune your approach for next time.
We wish you all the best with your next DIY video journey!